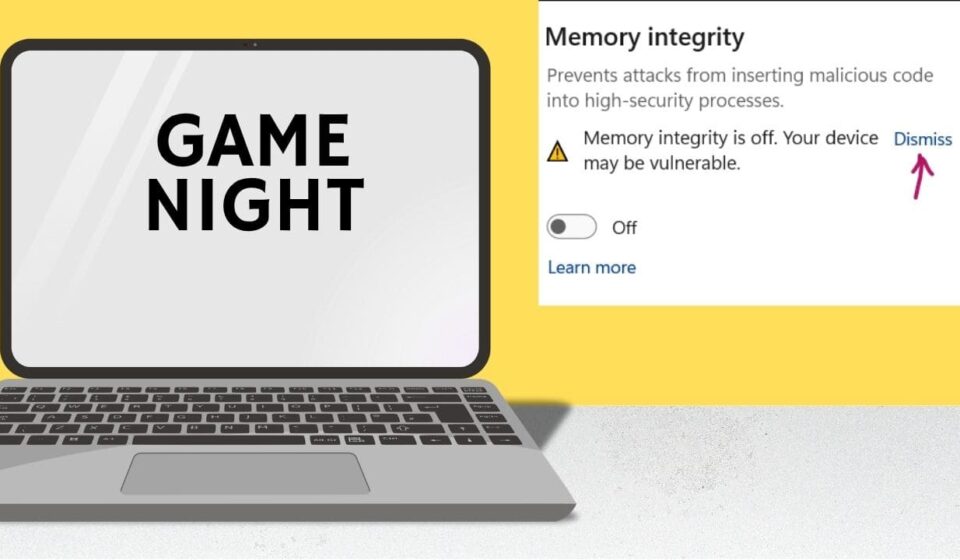

Windows 11 can sometimes block drivers, apps, or hardware features because of its security settings. One setting that often confuses users is Memory Integrity. It is designed to protect important parts of Windows from malicious or incompatible code. However, it can also prevent certain drivers from working correctly. You may notice compatibility warnings, installation errors, or hardware that suddenly stops responding. These issues can become frustrating when you need a specific driver or application to work.
If you are facing these problems, knowing how to turn off memory integrity in Windows 11 can help you troubleshoot the issue. The process is available through Windows Security and does not require advanced technical skills. However, disabling this feature reduces one layer of protection against certain threats. It should therefore be treated as a troubleshooting step rather than a permanent solution.
What Is Memory Integrity in Windows 11 and How Does It Work?
Memory Integrity is part of Windows 11’s Core Isolation security features. It uses virtualization-based security to protect important Windows processes. The feature helps prevent malicious code from running inside protected system areas. Windows checks drivers and other low-level components for compatibility. An older or poorly designed driver may trigger a warning. This can happen after upgrading Windows or installing older hardware.
Memory Integrity can affect:
- Older device drivers
- Some virtualization software
- Certain hardware utilities
- Legacy applications requiring low-level access
Why Would You Need to Disable Memory Integrity?
You may need to disable Memory Integrity when a trusted driver won’t install or work correctly. This commonly happens with older hardware and software.
For example, imagine a printer stops working after a Windows update. Windows Security identifies its old driver as incompatible. Disabling Memory Integrity temporarily may allow testing. Still, don’t turn off the feature without a clear reason. First, check whether the manufacturer provides a newer compatible driver.
How to Turn Off Memory Integrity in Windows 11?
If you’ve confirmed that Memory Integrity causes the problem, follow these steps:
- Open the Start menu and select Settings.
- Choose Privacy & security from the sidebar.
- Click Windows Security.
- Select Device security.
- Find Core isolation and click its details.
- Locate Memory integrity.
- Turn the Memory Integrity switch off.
- Restart your computer when Windows asks.
After restarting, test the driver or application again. If the problem disappears, Memory Integrity likely caused the compatibility conflict. If you’re troubleshooting, turning off Memory Integrity in Windows 11 should remain a temporary solution. Re-enable it after fixing the underlying driver problem.
What to Do If Memory Integrity Will Not Turn Off?
Sometimes Windows refuses to turn off the setting. An incompatible driver often causes this behavior.
Check for Incompatible Drivers
Open Windows Security and check the Memory Integrity section. Windows may display the driver name causing the conflict. Write down the driver’s name before making changes. Then search for that driver through the hardware manufacturer’s official website.
Update or Remove Problematic Drivers
Download the latest driver directly from the manufacturer. Avoid random driver-download websites whenever possible. If no compatible version exists, remove the outdated driver. You can use Device Manager to locate the related hardware. Restart Windows after updating or removing it. Once the driver works correctly, turn Memory Integrity back on. This restores the additional security protection and keeps your system better protected.
What Happens After You Disable Memory Integrity?
Memory Integrity works with Windows virtualization-based security features. It helps prevent malicious code from running inside protected system processes. When you turn it off, Windows stops applying this specific protection. You may notice that an incompatible driver or application works normally afterward. This can help confirm that Memory Integrity caused your original problem. To change the setting, open Windows Security from the Start menu. Then select Device security and open Core isolation details. Find Memory integrity and switch the setting off. Windows may ask you to restart the computer. Save your work first, then restart the device to apply the change. If the setting doesn’t change, check whether another security policy controls it. Some computers also require administrator access before Windows accepts the change.
Is It Safe to Turn Off Memory Integrity in Windows 11?
Turning off Memory Integrity doesn’t immediately damage your computer. However, it reduces protection against certain malicious or unsafe code. That’s why I recommend turning it off only when troubleshooting a specific compatibility issue. For example, an older driver might refuse to install while Memory Integrity remains enabled. Turning off the feature temporarily can help you install or test that driver.
Before making the change, consider these points:
- Download drivers only from trusted sources.
- Avoid unknown software while protection remains disabled.
- Turn Memory Integrity back on after testing.
- Restart Windows after changing the setting.
How to Turn Memory Integrity Back On in Windows 11?
Turning the feature back on takes only a few steps. Open Windows Security, then select Device security. Choose Core isolation details and find Memory integrity. Switch the setting back on and restart your computer if Windows requests it. After restarting, Windows will restore this protection. If Windows reports an incompatible driver, don’t ignore the warning. Identify the listed driver and check the manufacturer’s website for an updated version. Updating the driver provides a better long-term solution than leaving Memory Integrity disabled.
Conclusion
Memory Integrity is an important Windows 11 security feature that helps protect system processes from malicious or incompatible code. However, it can sometimes create problems with older drivers, hardware utilities, or legacy applications. If you experience compatibility errors, temporarily turning off the feature can help identify whether it is causing the issue. Learning how to turn off memory integrity in Windows 11 is relatively simple through the Windows Security settings. Still, turning off this protection should not be considered a permanent fix.